Last month I was invited by Road Scholar to experience one of their U.S. learning adventures from the perspective of a solo female traveler.
After various considerations, I decided to take this travel company’s Hands-On Glass in Chihuly’s Seattle trip so that I could both visit beautiful Seattle and fulfill my bucket list dream of learning how to blow glass.
I could see why this particular tour received such a high rating because I learned so much about this craft in a city that’s filled with many interesting and accessible attractions.
And, as a wonderful bonus, I was also able to enjoy my experiences with travelers who were very friendly and inclusive. The other solo female travelers, whose ages ranged from 60 plus to 92, also agreed that they too had joined a great group.
On the first full day of my tour, all 26 of us left the Warwick Hotel to board a metro bus to the Pratt Fine Arts Center. This not-for-profit organization prides itself on being the only facility in the Northwest where it says absolute beginners and established professional artists work side-by-side creating art in: glass; metal, stone and wood sculpture; jewelry and metal smithing; painting; drawing; printmaking; and mixed media.

Once we arrived, we were invited into the school’s glass blowing or “hot shop” area where we initially received a detailed demonstration from one of the three instructors on the art of making a glass paper weight. Because hot shops can cost at least $100, 000.00 to build and maintain, many local artists rent the use of this particular facility.
Making a Paperweight

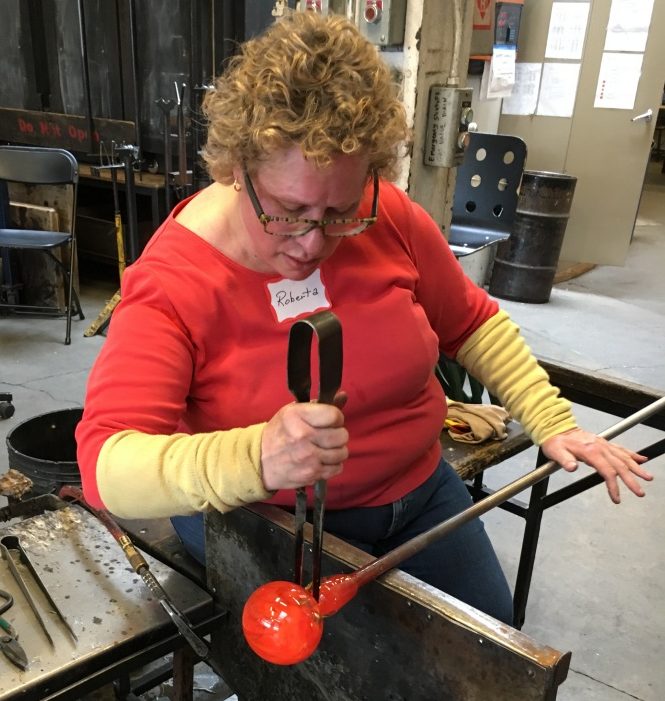
Then the group was divided into thirds and, with the help of an instructor, we took turns learning how to make our own paperweights. I liked the fact that the instructors always guided us to make sure that we were safe. And there was no pressure to go near the hot surfaces. If we felt uncomfortable doing a step, the instructor would simply take care of it.

With the aid of our instructors, we each learned to dipped our long rods into the “glory hole” or opening of a hot furnace in order to “gather” a little bit of the molten glass on to the tip.
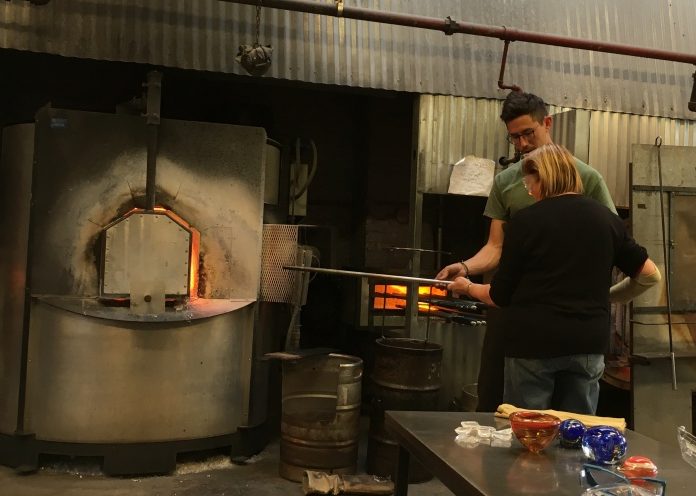
The molten glass had the consistency of honey so we needed to continue turning the pipe to keep the hot glass from flowing off of it and onto the floor.
We each then helped bring the pipe to the work area where trays of colored glass were kept.
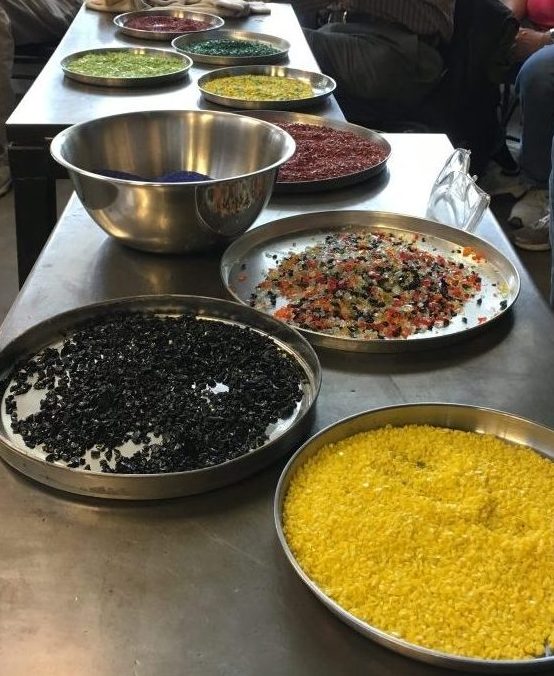
We were told that ninety-nine percent of the color used in glass making comes from Germany or Bulgaria. The transparent colors appear nearly all black until blown out in a piece. The opaque colors appear the same before and after melting. The glass needed to be hot or the glass coloring wouldn’t be able to stick.
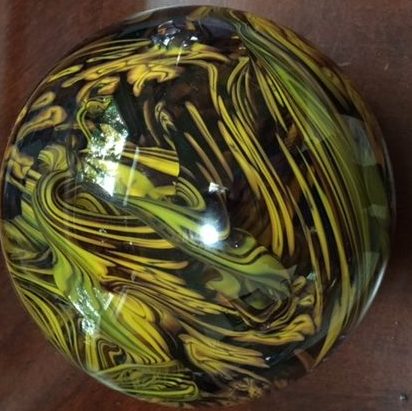
I rolled my glass onto the trays filled with purple and yellow colored glass. However, regardless of what colors you choose, every piece in molten form looks orange.

The instructors showed us how to safely form the glob of glass into a ball with the aid of a curved block.

The block, usually made of cherry or another dense form of fruitwood, is soaked in water and used wet with the hot glass. The shape of the block and the steam derived from the hot glass hitting the wood helps create the round shape.
Then to make swirls for our paperweights, we learned to use a “jack”, a pincer-like tool. The jack helped us quickly pull at the ball which when it cooled had the consistency of taffy. We had to work quickly because the glass would continue to harden as it cooled.
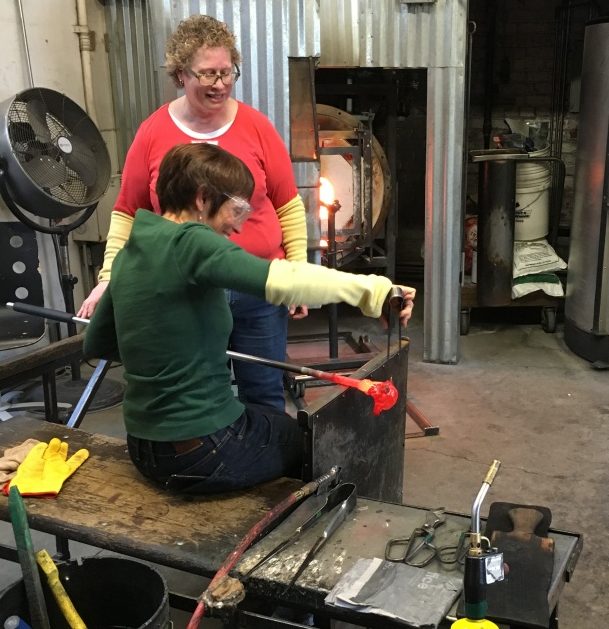
Once our cooling glass became too difficult to work with, we needed to heat our jack with a blow torch in order to make the glass more malleable.
After this was done, the instructor encased our art in a clear gather of glass to create the end product. The instructor then smoothed it out and removed it from the rod.
Each of our completed paperweights were placed in an annealing oven.
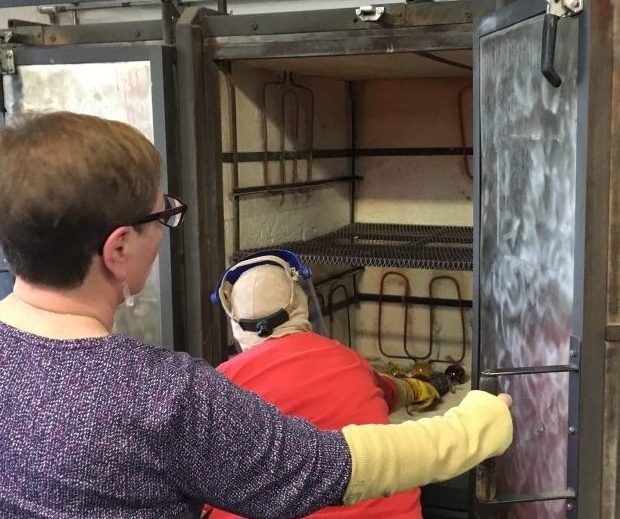
As our tour coordinator, Carol Barton, told us, an annealing oven is a temperature-controlled container designed to control the gradual cooling of the inside and outside of a piece of molten glass. This avoids cracks or breaks caused by cooling the glass too quickly.
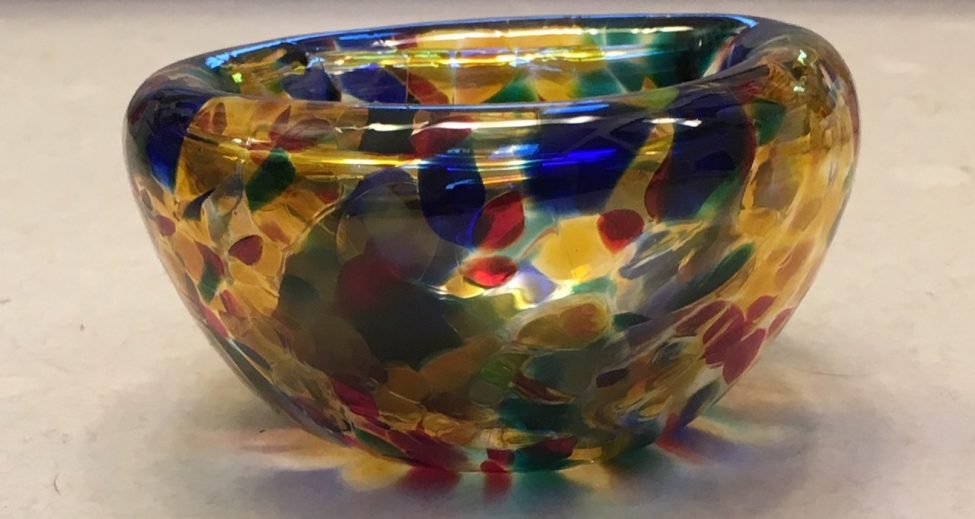
My paperweight came back to me in a few days and voila!
Blowing glass to make a bowl.
After a nice box lunch at another building at the this center, we all went back to the hot shop to learn how to blow glass into bowls. This consisted of again gathering the molten glass and coloring it. This time though, as the instructor rolled the glass, I needed to blow out into the pipe to create the outer curve of the bowl. Then, I eventually needed to blow inward to create the inner shape of the bowl.

After further refinement by the instructor, my bowl was then taken off the pipe and placed in the annealer for cooling. This too would be presented to me in a few days.
This definitely was a bucket list experience, but I was itching to explore more of Seattle. Heather Bryant of VisitSeattle had graciously hooked me up with Eat Seattle, a great foodie tour of Pikes Place Market, along with many other easily accessible attractions including the Terracotta Warrior exhibit at the Pacific Science Center.
So the next day,while the rest of my group learned other forms of glassmaking, I headed out on my own to experience more of Seattle.
Next: Experiencing the sights of Seattle on my own.
